Export an Image From Voyant
Goals: Export a Voyant Tools visualization as a png file
Estimated Time to Complete: 10 minutes
Step 1. Download a Voyant Visualization Image File
You may want to include a visualization from your Voyant Tools exploration into your multimedia essay.
Let’s practice exporting a word cloud from Voyant.
- Start by choosing a corpus to view in Voyant from those listed below.
- When you’ve decided on one, click on the green “View in Voyant Tools” button to the right of it. This will take you to a new browser tab to explore that corpus in Voyant.
Remember, the word cloud appears in the top left section of the Voyant dashboard, and shows the raw frequency of the most frequently-appearing words in our corpus.
Expand the word cloud to full screen following these instructions:
- Hover your mouse just above the word cloud content, to the right of the “Links” button in the toolbar. Look for the icon of a box with an arrow pointing up and out of it. Click on this icon.
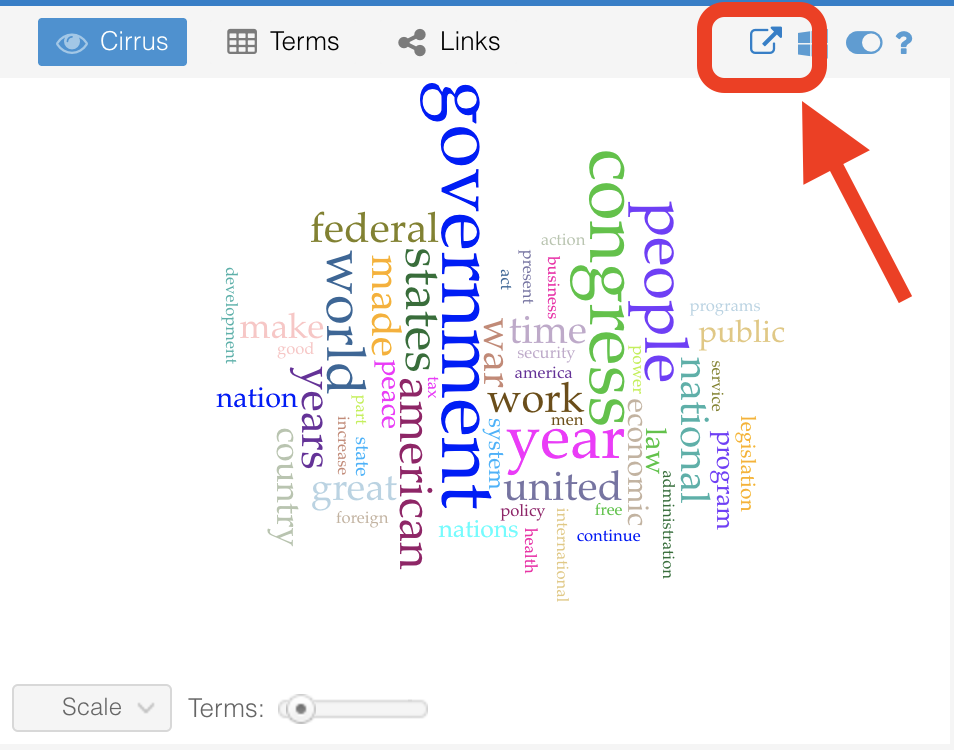
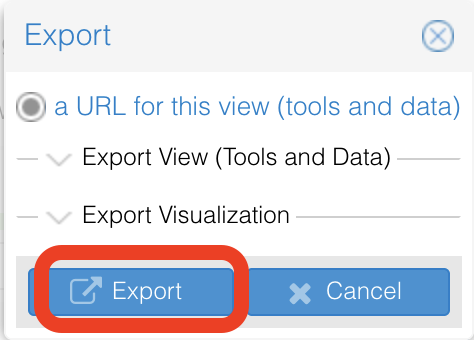
- A popup will appear with the Title “Export.” Without clicking on any other options in the popup, click on the blue “Export” button in the bottom left of the popup.
-
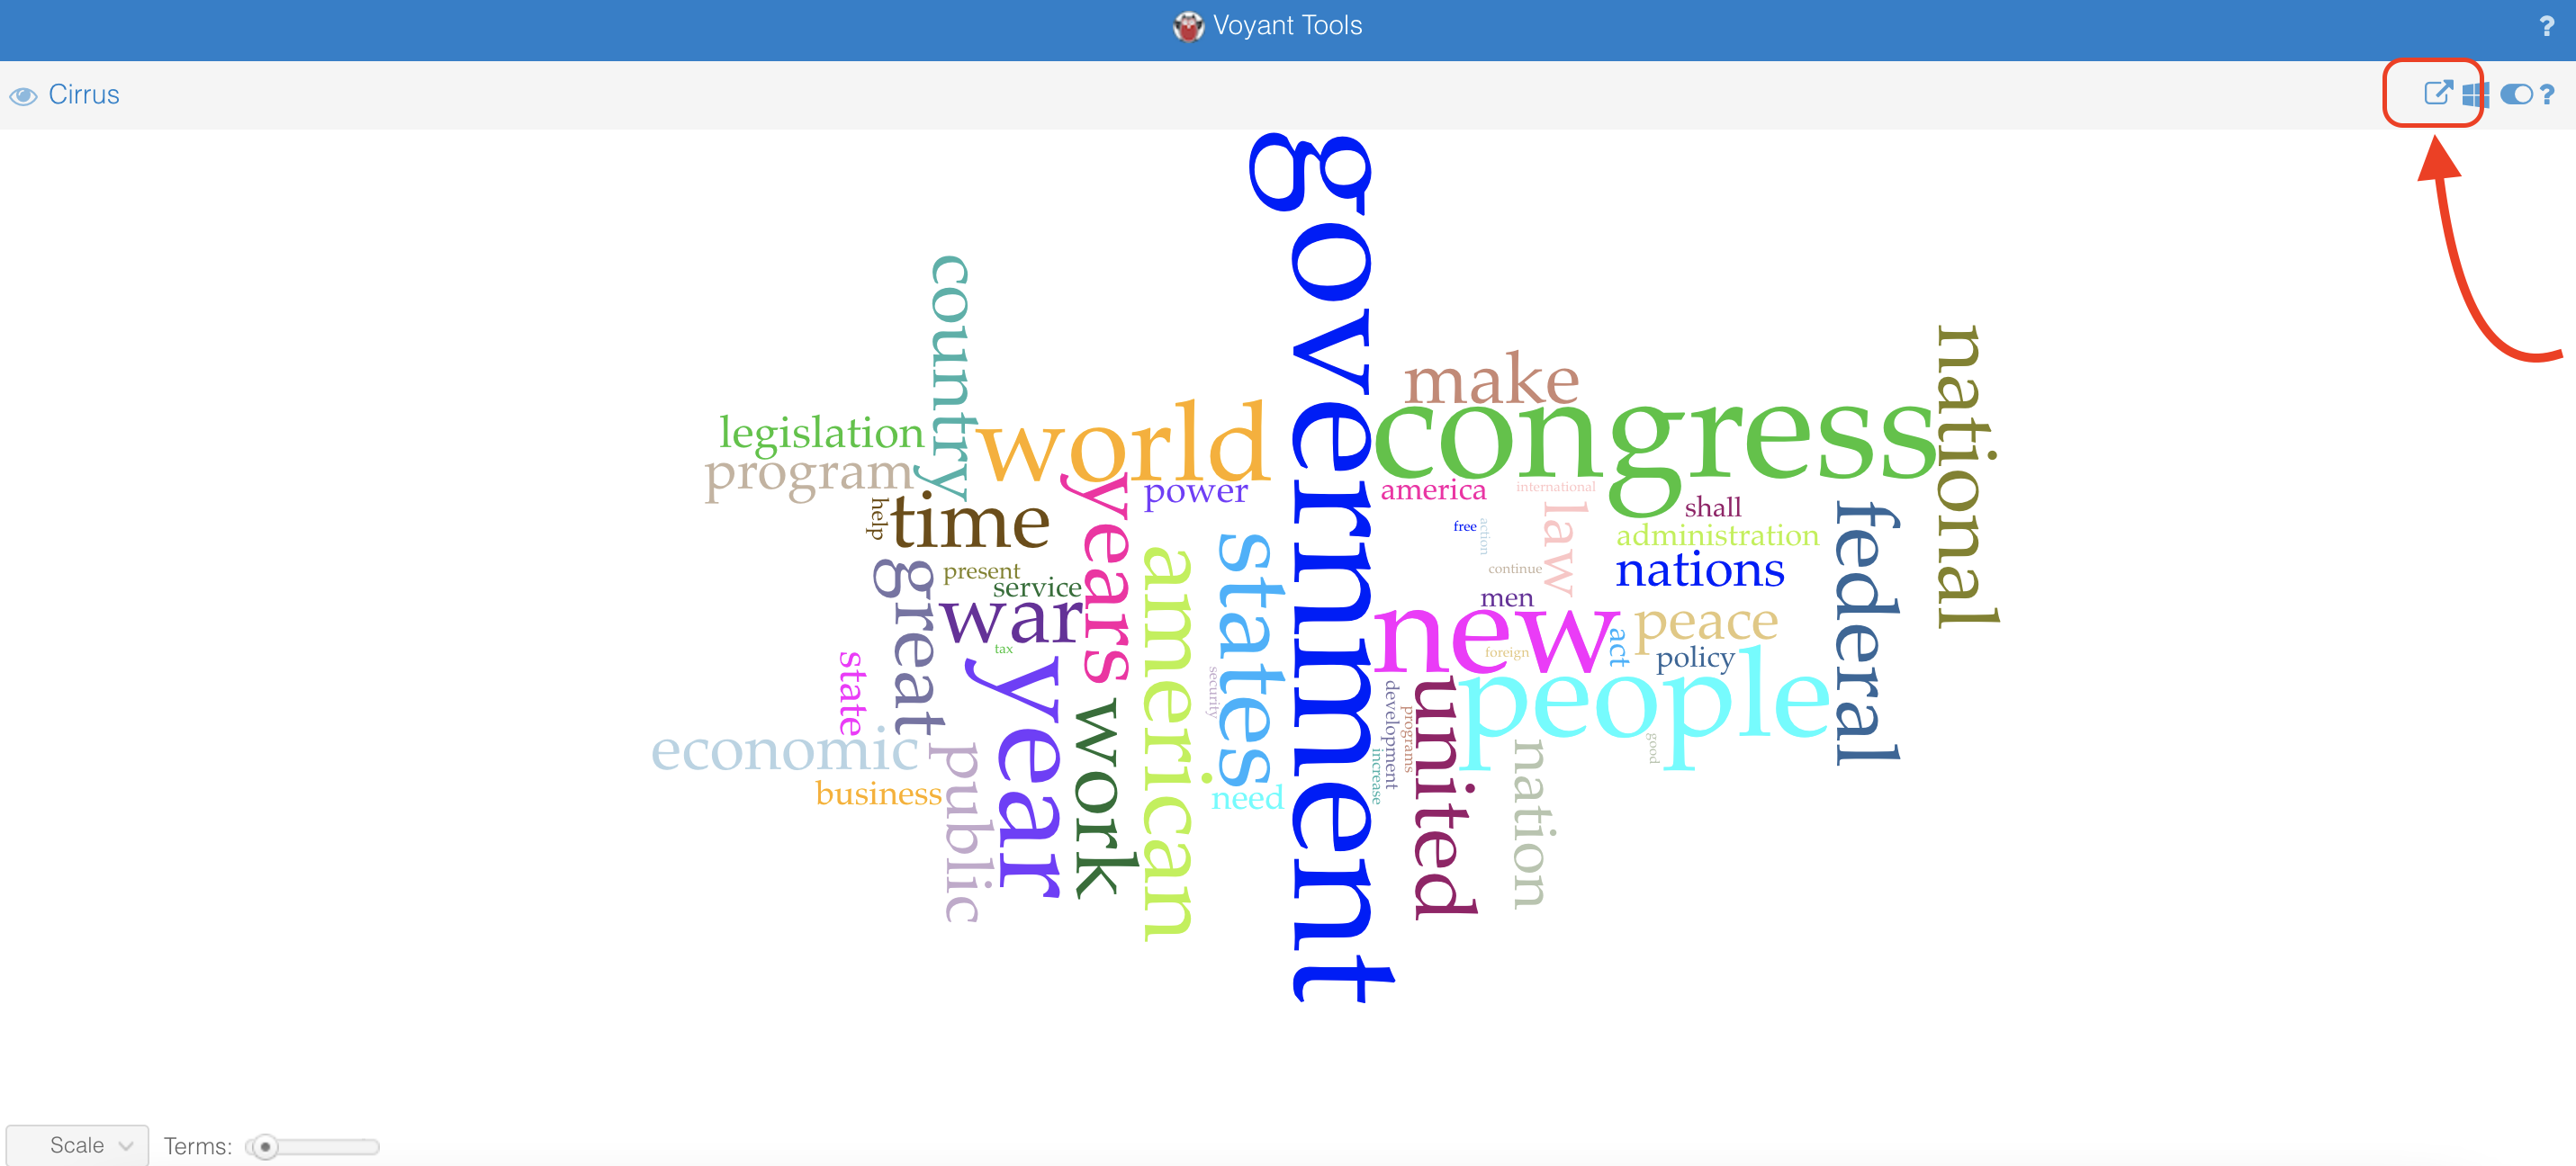
This opens up the word cloud as a full-screen visualization in a new tab in your browser.
-
To export this visualization as an image file, hover your mouse in the white toolbar (not the blue toolbar!) in the top right of the browser window. Look for the icon of a box with an arrow pointing up and out of it. Click on this icon.
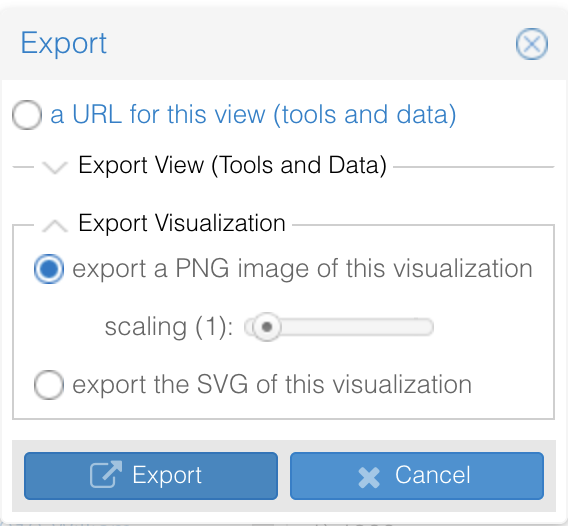
- When you click on the export icon, a popup will appear with the Title “Export.”
- There are two dropdown options within the popup box: “Export View (Tools and Data)” and “Export Visualization.” Click on “Export Visualization.”
- Two options will appear below “Export Visualization”: “export a PNG image of this visualization,” and “export the SVG of this visualization.” Select “export a PNG image of this visualization.” Then click the blue “Export” button in the bottom left of the popup.
Note: Some browsers may not display the dropdown options! If the “Export” popup does not show you any dropdown options, click the blue “Cancel” button in the bottom right of the popup, and then take a screenshot of your visualization instead. You can upload the screenshot file to your essay instead of an exported file.
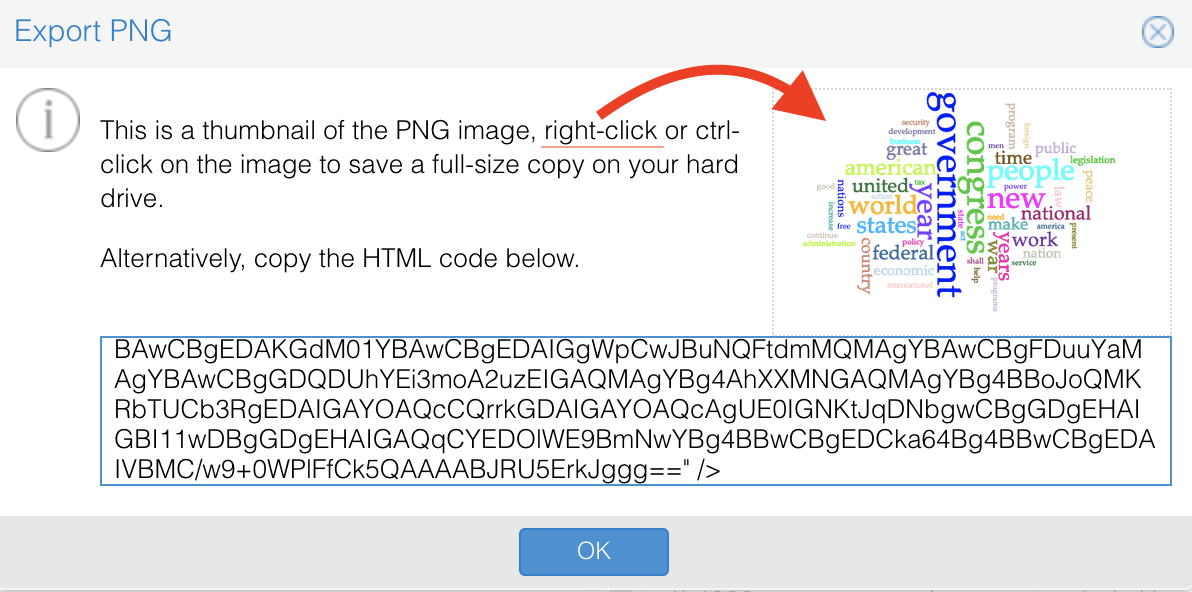
- A popup will appear with the title “Export PNG.” A PNG is a type of image file. We want to save it to our computer and then upload it to our GitHub repository.
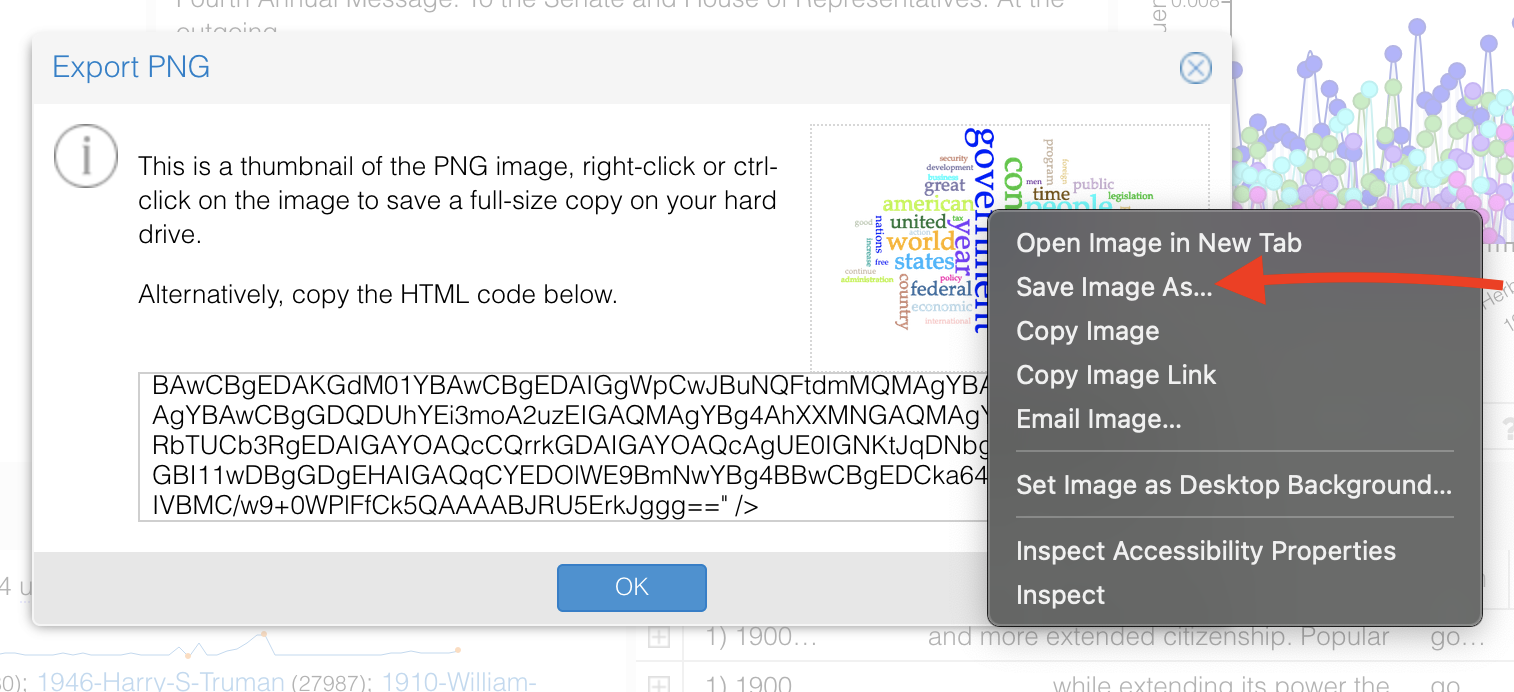
- On the right side of the popup, there is a preview of the word cloud. Right-click or press ctrl and click on the word cloud preview.
- This brings up a menu with several options, one of which is “Save Image As…”. Select “Save Image As…”
-
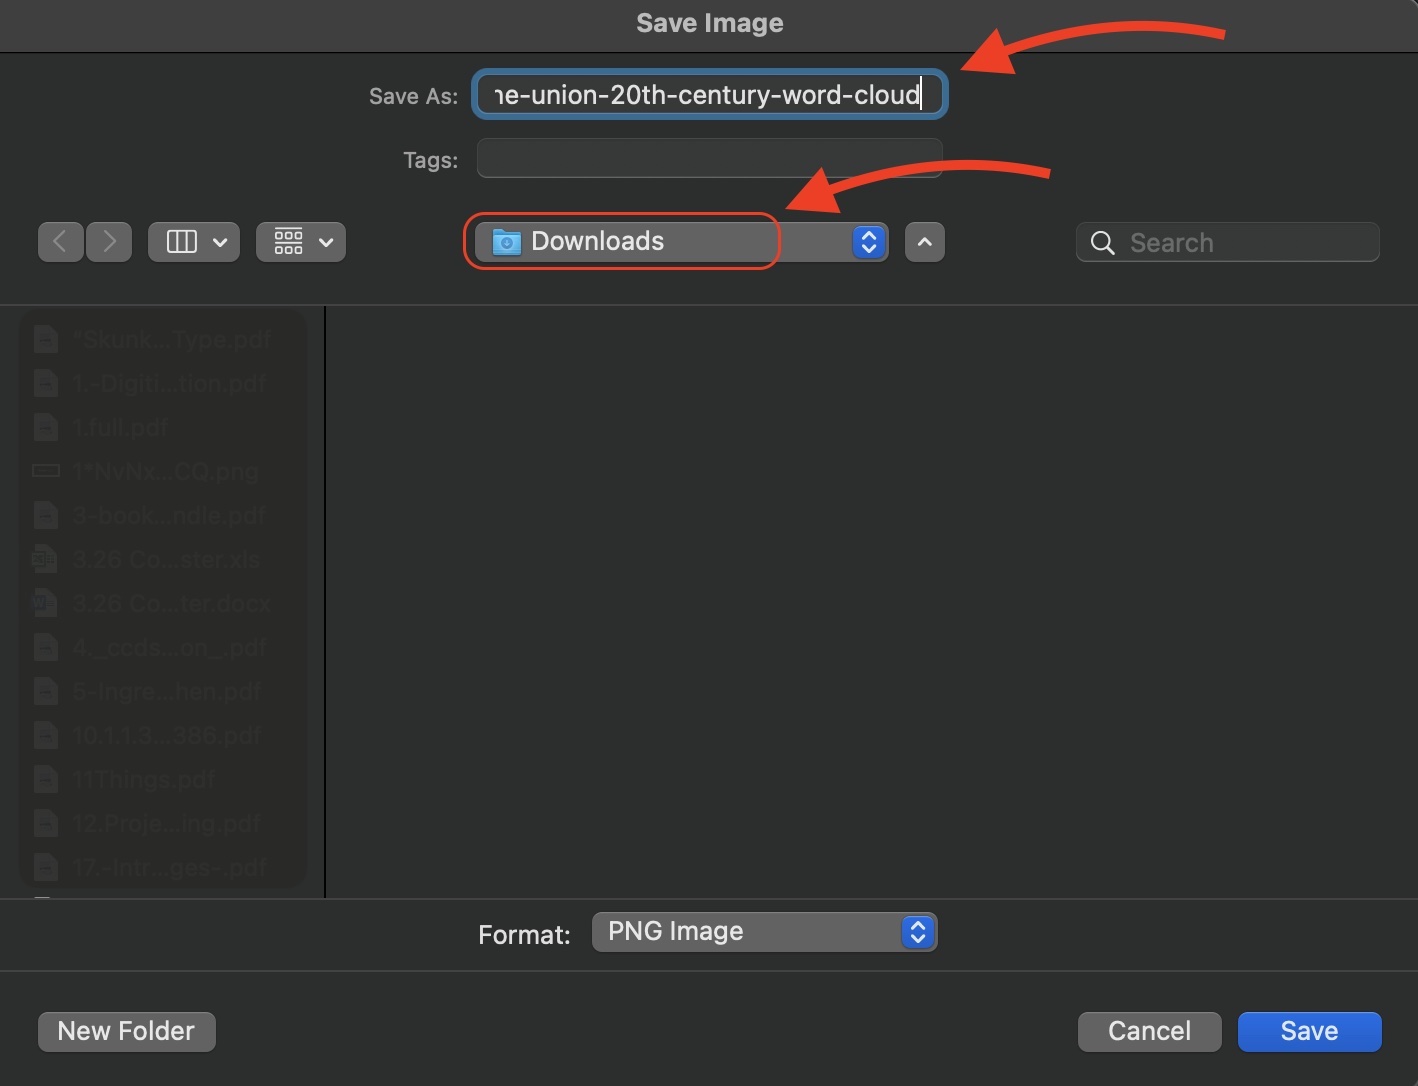
At this point you’ll need to give this image file a name. Avoid using spaces in your filename. Instead separate words by hyphens (
-) or underscores (_). Try to be as specific with the name as possible, such as “party-platforms-20th-century-word-cloud,” so you don’t get confused later. -
After you’ve named it, pay attention to the location where you are saving this file. In most cases, your computer will automatically save objects that you download into the “Downloads” folder, but it’s good to check to make sure. Leave the image format just as it is (PNG format for default), and click “Save.”
Step 2. Add an Image File to Your Multimedia Essay
Now that you’ve downloaded the image, you can add it to your essay following the Image Includes instructions covered earlier in this course.