
Metadata Guidelines
You will be creating metadata for two types of items:
- the photograph(s) and document(s) you digitized from the archival collections –> your “digitized objects”.
- five already digitized items selected from the digital collections –> your “curated objects”.
Both digitized and curated objects will be described using the same metadata template. To create your metadata for the project, you will first make a copy of the metadata template “metadata_template” in Google Drive:
Describe your digitized objects and curated items in your copy of the template, following the guidelines below. Once you have items added to your Sheet, you can test your metadata if desired.
Once your metadata is finalized, you will copy your rows into our shared central metadata spreadsheet, and everyone’s items will populate the final digital exhibit–see Submit Your Metadata below.
For tips on using Sheets for metadata, see Working with Spreadsheets.
Metadata Fields
Each of the columns of our project’s metadata template spreadsheet are described below (i.e. this is how to fill in your metadata spreadsheet!). Please note required means not having a value will result in your metadata not functioning in the digital collection. All other fields are optional, but suggested!
Use the evidence available to you to best fill out the metadata values. The archival finding aid, notes in the folders, notes and contents of the items may help for digitized items. For curated items, use the existing metadata as a guide and starting point.
record_contributor
- This is your name! Get credit for your work and show that you did the assignment.
- If you are uncomfortable using your real name, feel free to use a professional sounding false one–let us know your pseudonym.
- Example:
Evan Williamson
objectid
- required
- Unique identifier for the record. Each record needs to have a unique one or it won’t show up in the collection. It allows us to refer to the item in the collection.
- Value must be all lowercase with no spaces or special characters. Underscores (
_) and dashes (-) are okay; slashes (/) should NOT be used in this field. - For this project, please follow the convention of using
del-+ your initials + the number of record created by you. - Examples:
del-ep01del-ep02
filename
- required
- The filename of your digitized object or the full link to your curated object’s file download.
- For digitized objects, the value must exactly match the filename you gave to your item, including the extension (which should be “.jpg” or “.pdf”). Naming your files following the same convention as the “objectid” makes things easiest!
- For curated objects from U of I collections, the value will be a full URL to the downloadable file. You can find this in our digital collections by copying the “Download” link from an individual item page.
- Examples:
- digitized image:
del-ep01.jpg - digitized document:
del-ep02.pdf - link to image:
https://digital.lib.uidaho.edu/digital/iiif/bar-stock/1147/full/max/0/default.jpg
- digitized image:
title
- required
- The title field is used to indicate the name of an item. This should be a short, descriptive set of words that identify the item.
- If the item has a title given to it by the creator, use it.
- Example value:
Portrait of Two Men Burned in the Forest Fire
creator
- The person(s) or organization primarily responsible for making the resource.
- Separate multiple creators using a semicolon
; - For articles or publications, this is the author. For photographs, either the photographer or the studio. Last name, first name “nickname” middle name maiden name, birthdate-death date if known. This is considered an enhancer for the material, and can be linked to records already available on the internet. This increases the usability and accessibility of our collections to a much broader audience.
- Examples:
Smith, JohnDoe, Jane; Smith, JohnUniversity of Idaho
date
- When the item was created.
- Dates should be represented in the ISO format
yyyy-mm-dd. - Examples:
1876-01-031903-041923
description
- A detailed account of the object, a short narrative sentence communicating what it is and its contents. Try to include information contained in the object, such as details of the image or names of people depicted.
- For this project, your description should help visitors understand why this item is relevant to the research project.
- Example value:
Postcard of the Memorial Gymnasium on the University of Idaho campus in Moscow, Idaho.
subject
- topic(s) related to the item.
- Separate multiple subjects using a semicolon
; - For this project, the subjects should relate to relevant concepts and topics highlights by the class and research, to help contextualize the collection contents.
- Think of subjects as how you would search for the item–> What subjects are described/depicted? These allow researchers and people interested in looking for one thing in particular to narrow the collections down to their interests. We use the Getty Art and Architecture Thesaurus for our subjects. Using a controlled vocabulary helps create consistency in the application of subject terms, connecting the with other objects and collections.
- Example value:
Dogs; Cats; Zebras
location
- The geographic location(s) / place names to which the item is tied.
- Separate multiple locations using a semicolon
; - Give place names in “City, State” format.
- Example value:
Pullman, Washington; Moscow, Idaho
latitude
- A geographic coordinate specifying the north-south position of an item.
- Example value:
46.731643 - Latitude and longitude can be found using online mapping programs:
- On Google Maps search or move the map to approximate location, then right click on a point and select the lat/long displayed at the top of the menu. This will copy the lat/long values to your clipboard, allowing you to paste them into your metadata spreadsheet.
- On Open Street Map search or move the map to approximate location, then right click on a point and select “Show address” from the menu. The lat/long will display on the left side panel, where you can copy and paste to your metadata.
- On iTouch Maps search or move the map to approximate location, then hold Shift and click on the spot. The lat/long will display below.
longitude
- A geographic coordinate specifying the east-west position of an item.
- Example value:
-117.165625
source
- The related source collection or resource from which the object is derived. Generally follows the pattern “collection name, organization name, location, web link”.
- For your digitized items, this will be the collection designation and name as found in the finding aid. If possible, it is helpful to include a link to the finding aid.
- For curated items, copy the source from the original item metadata, and/or include a link to the item page in the original digital collection.
- Example value:
PG 8, Barnard-Stockbridge Collection, University of Idaho Library Special Collections and Archives - Example finding aid link:
http://archiveswest.orbiscascade.org/ark:/80444/xv65328 - Example item page link:
https://www.lib.uidaho.edu/digital/barstock/items/barstock133.html
identifier
- The unique identifier assigned to the object by the object’s source collection in Spec.
- Example value:
pg8-x-545i
type
- The genre of the object, chosen from the DCMI Type Vocabulary.
- Choose from:
Image;StillImage(photographs, etc)Image;MovingImage(films)Text(documents)Sound(audio)
format_original
- This field specifies what the object was before digitization. Provide as much detail as might be helpful for people to understand the original artifact.
- Examples:
black-and-white photograph,color photograph,typed manuscript,scrapbook,newspaper clipping
format
- required
- This field indicates the item’s media type using the MIME type standards.
- It is important to get this correct, or the item won’t be displayed correctly.
- Choose from:
- Image:
image/jpeg - Document:
application/pdf - Audio:
audio/mp3 - Video:
video/mp4
- Image:
rightsstatement
- This field is a standardized rights statement, designated in the form of a URI. It should be presented as a creativecommons.org URI or a rightsstatements.org URI.
- This helps users understand how they can use the digital objects, and libraries / project creators do their due diligence to represent intellectual property.
- For this project, we will be choosing from rightsstatements.org.
- Choose from:
- Items created before 1927 are public domain in USA. Use:
http://rightsstatements.org/vocab/NoC-US/1.0/ - For other items, we will use “Educational Use Permitted”:
http://rightsstatements.org/vocab/InC-EDU/1.0/
- Items created before 1927 are public domain in USA. Use:
Submit Your Metadata
Once your metadata is finalized in your copy of the template, you will copy your rows into our shared central metadata spreadsheet. The link to the “hist454_metadata_final” Sheet will be sent out via email.
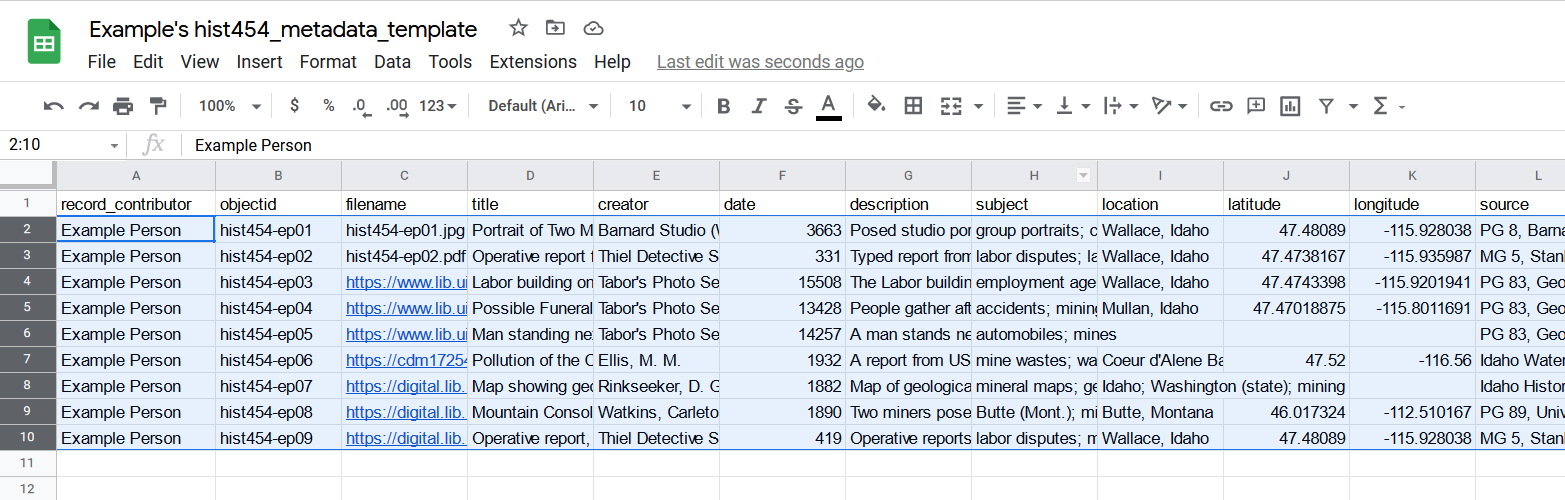
- Open both your copy of the template and the “hist454_metadata_final” in Sheets.
- On your copy of the template, click on the number to the left of your first item row (should be row 2). This will select the entire row, highlighting it in blue.
- Hold “Shift” key and click on the number to the left of your last item row (e.g. if you did 2 digitized items and 5 curated items, this would be row 8). This will select all your rows, highlighting them in blue.
- Copy the rows by pressing “Ctrl + C” on your keyboard.
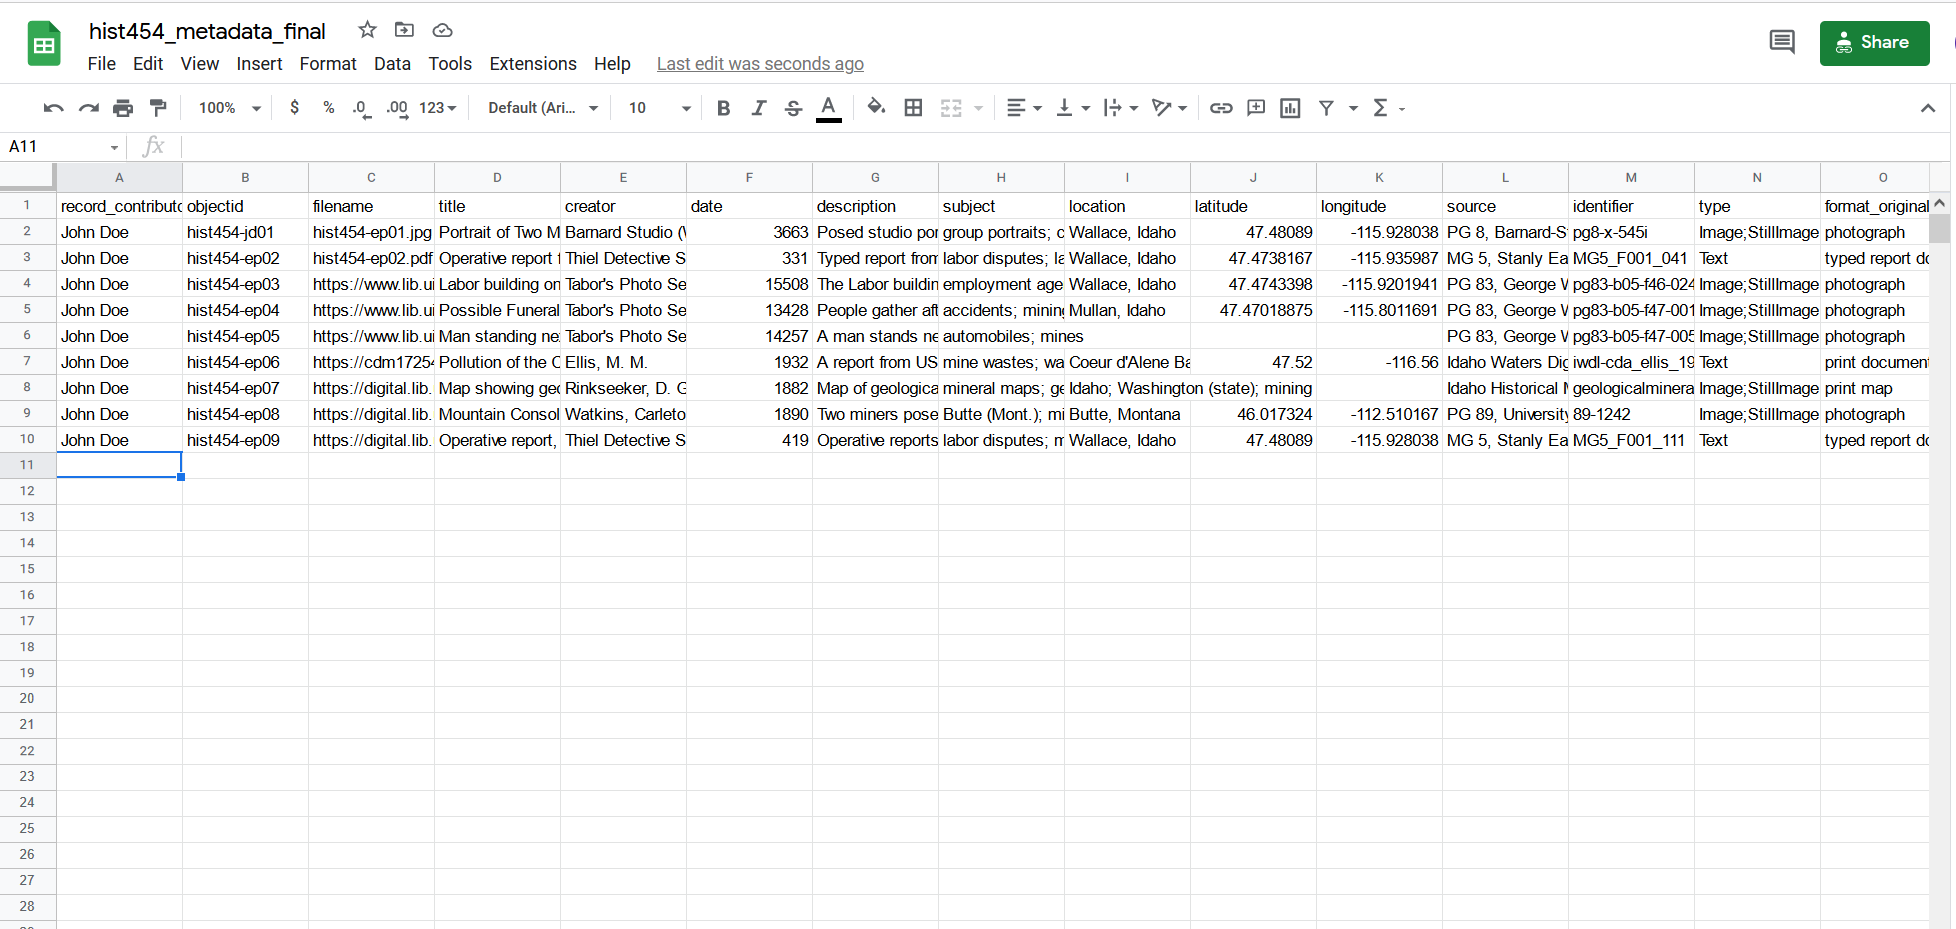
- Switch to the “hist454_metadata_final” Sheet.
- Scroll down to find an empty row at the bottom of the Sheet and click in the first cell of the row. Ensure the row is empty so that you do not over write someone’s work! Once you click in the cell it should be highlighted with a blue border as the active cell.
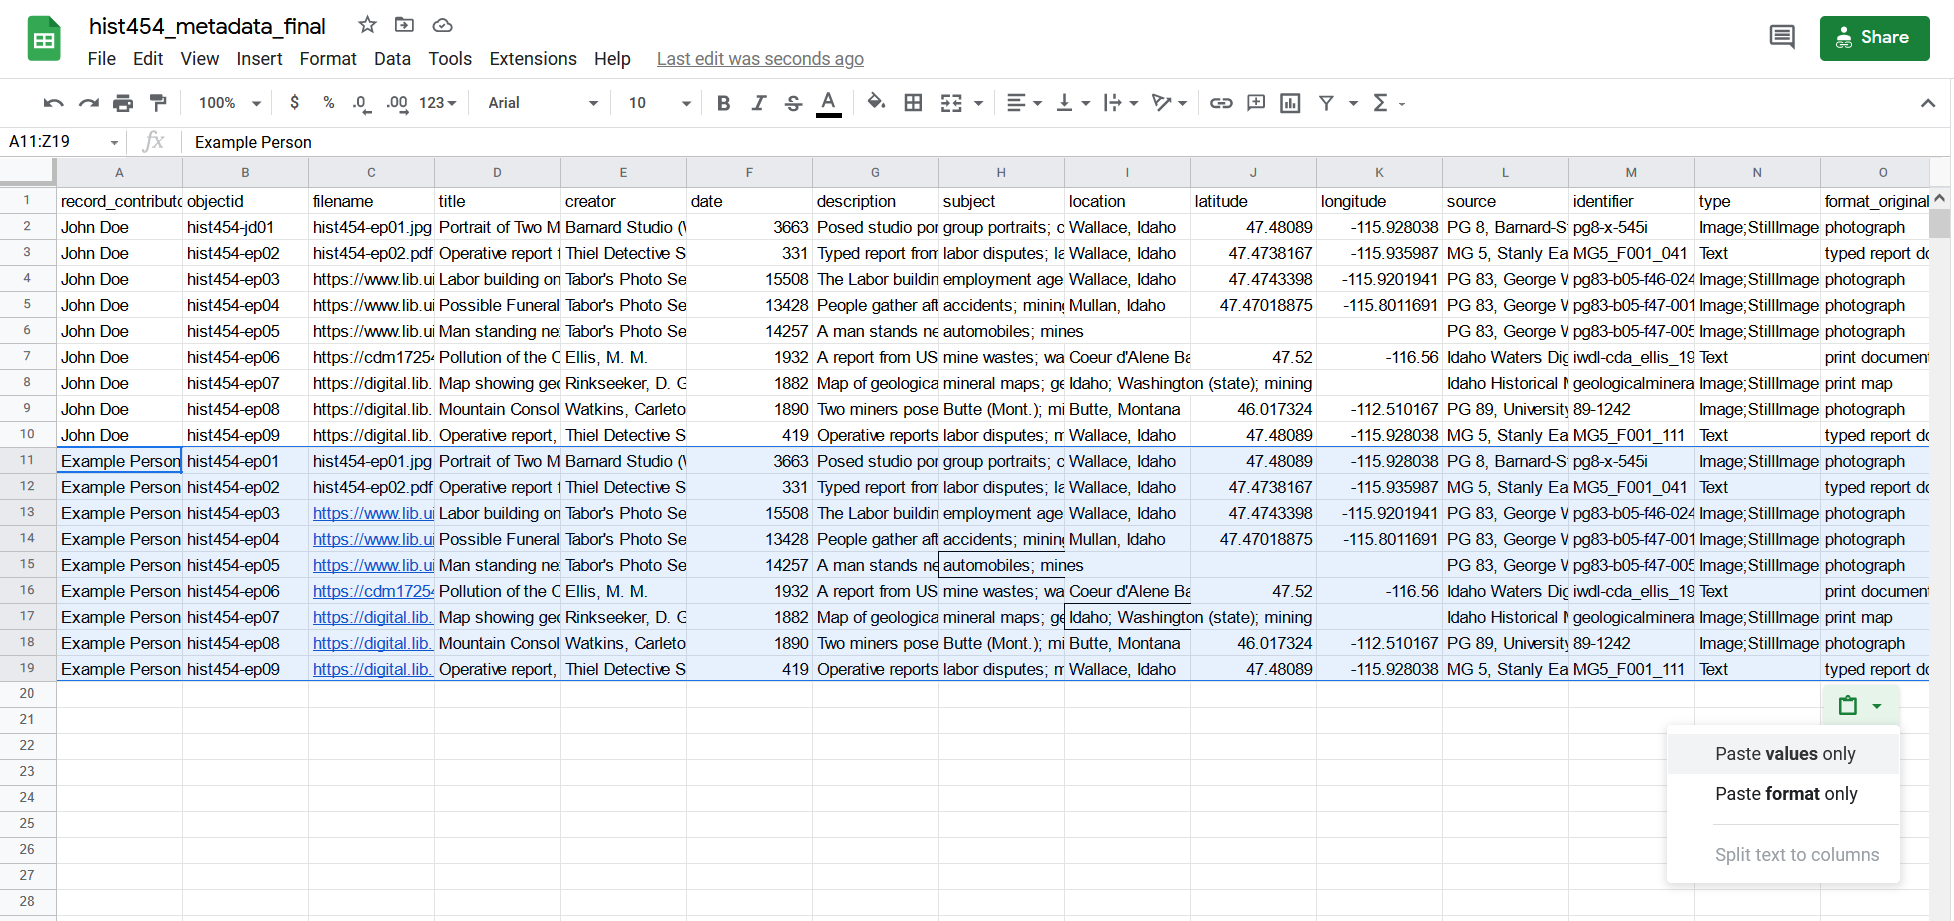
- Press “Ctrl + V” on your keyboard to paste in the rows you copied from your sheet. Your rows should appear. (Remember, if you make a mistake, “Ctrl + Z” will undo your last action!)
- Below your newly pasted rows to the bottom right, click on the clipboard icon, and select “Paste values only”. This will avoid copying formatting quirks to the final Sheet.
Once all the metadata and digitized objects are gathered, the Mining the Archives collection will be updated to use this spreadsheet!